Images
1. Add images to your story
Images can be an exciting addition to your interactive story. Here you will learn how to add them.
1.1 Saving your image
Your image needs to be in a folder in the same location where you're going to save the HTML versions of your story.
Your structure should look like this:
-
Create a folder where you'd like to save your HTML files:

-
And inside that folder create a folder called "images":
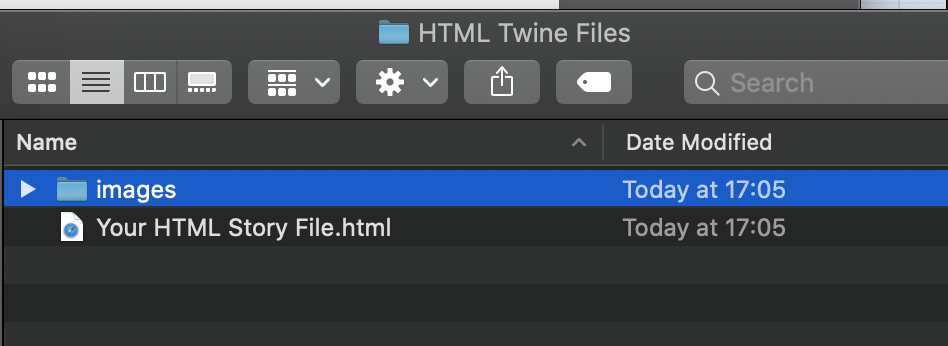
The folder "images" is where you will save all the images you'd like to add to your story.
1.2 Add your images into your story
After saving your image in the "images" folder, you can mark the place in your story where you'd like it to appear.
-
Use the instructions: [img[]]
-
Add the name of the "images" folder and you image: images/picturename.png
-
This is how it looks:
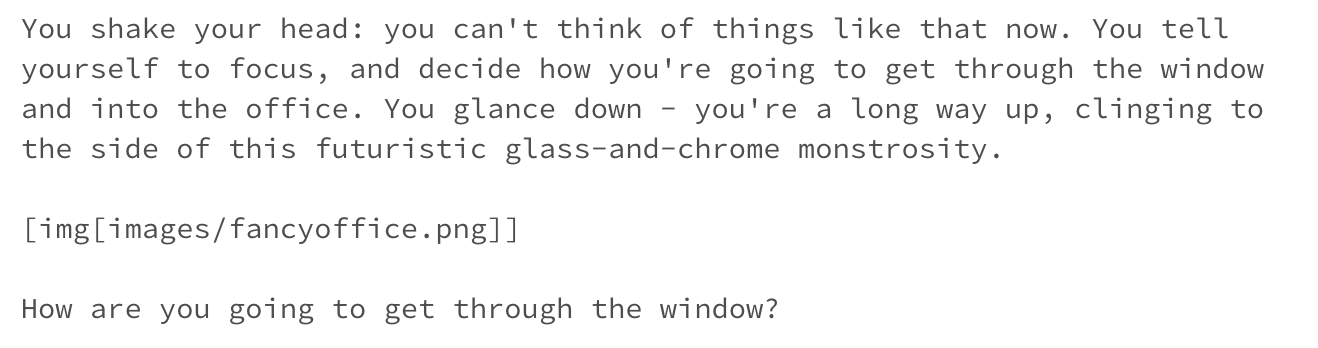
[img[images/picturename.png]]
Every time you want an picture to appear, make sure you use the image instructions with the name of the picture exactly where you want it to appear in your story. In a passage it could look like this:
1.3 Seeing your images
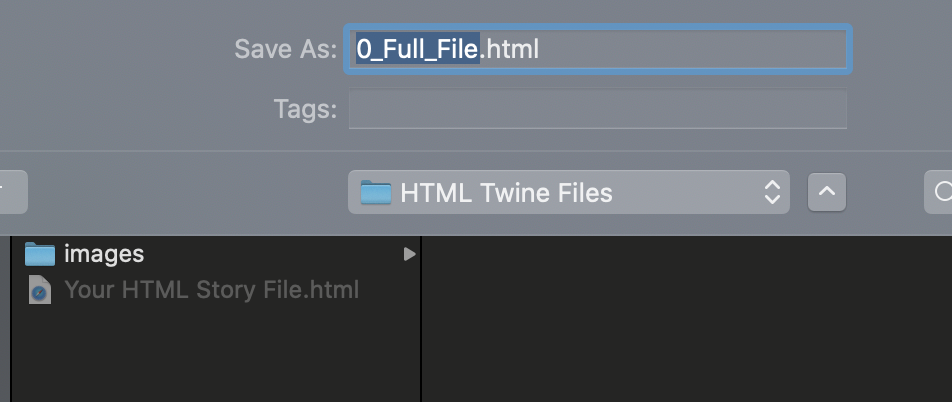
Saving your story as a HTML file.
-
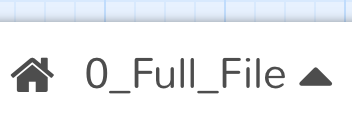
In your story file in Twine, go to the menu to the right of the story name.
-
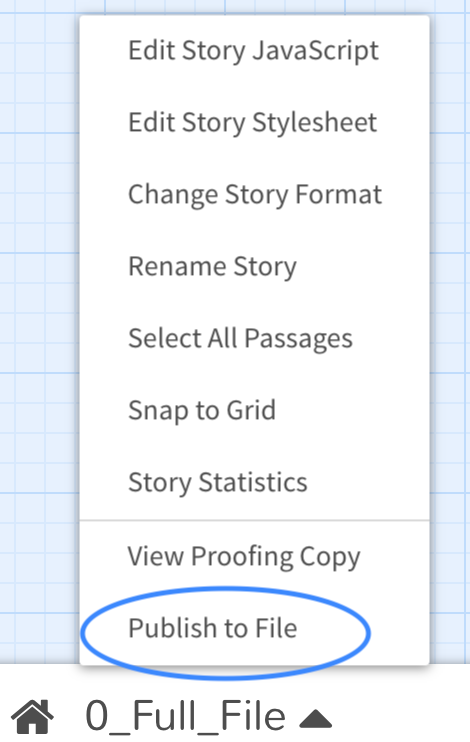
Choose "Publish to File" to generate a HTML file of your story. Save it in the location "HTML Twine Files", the folder that contains the "images" folder.
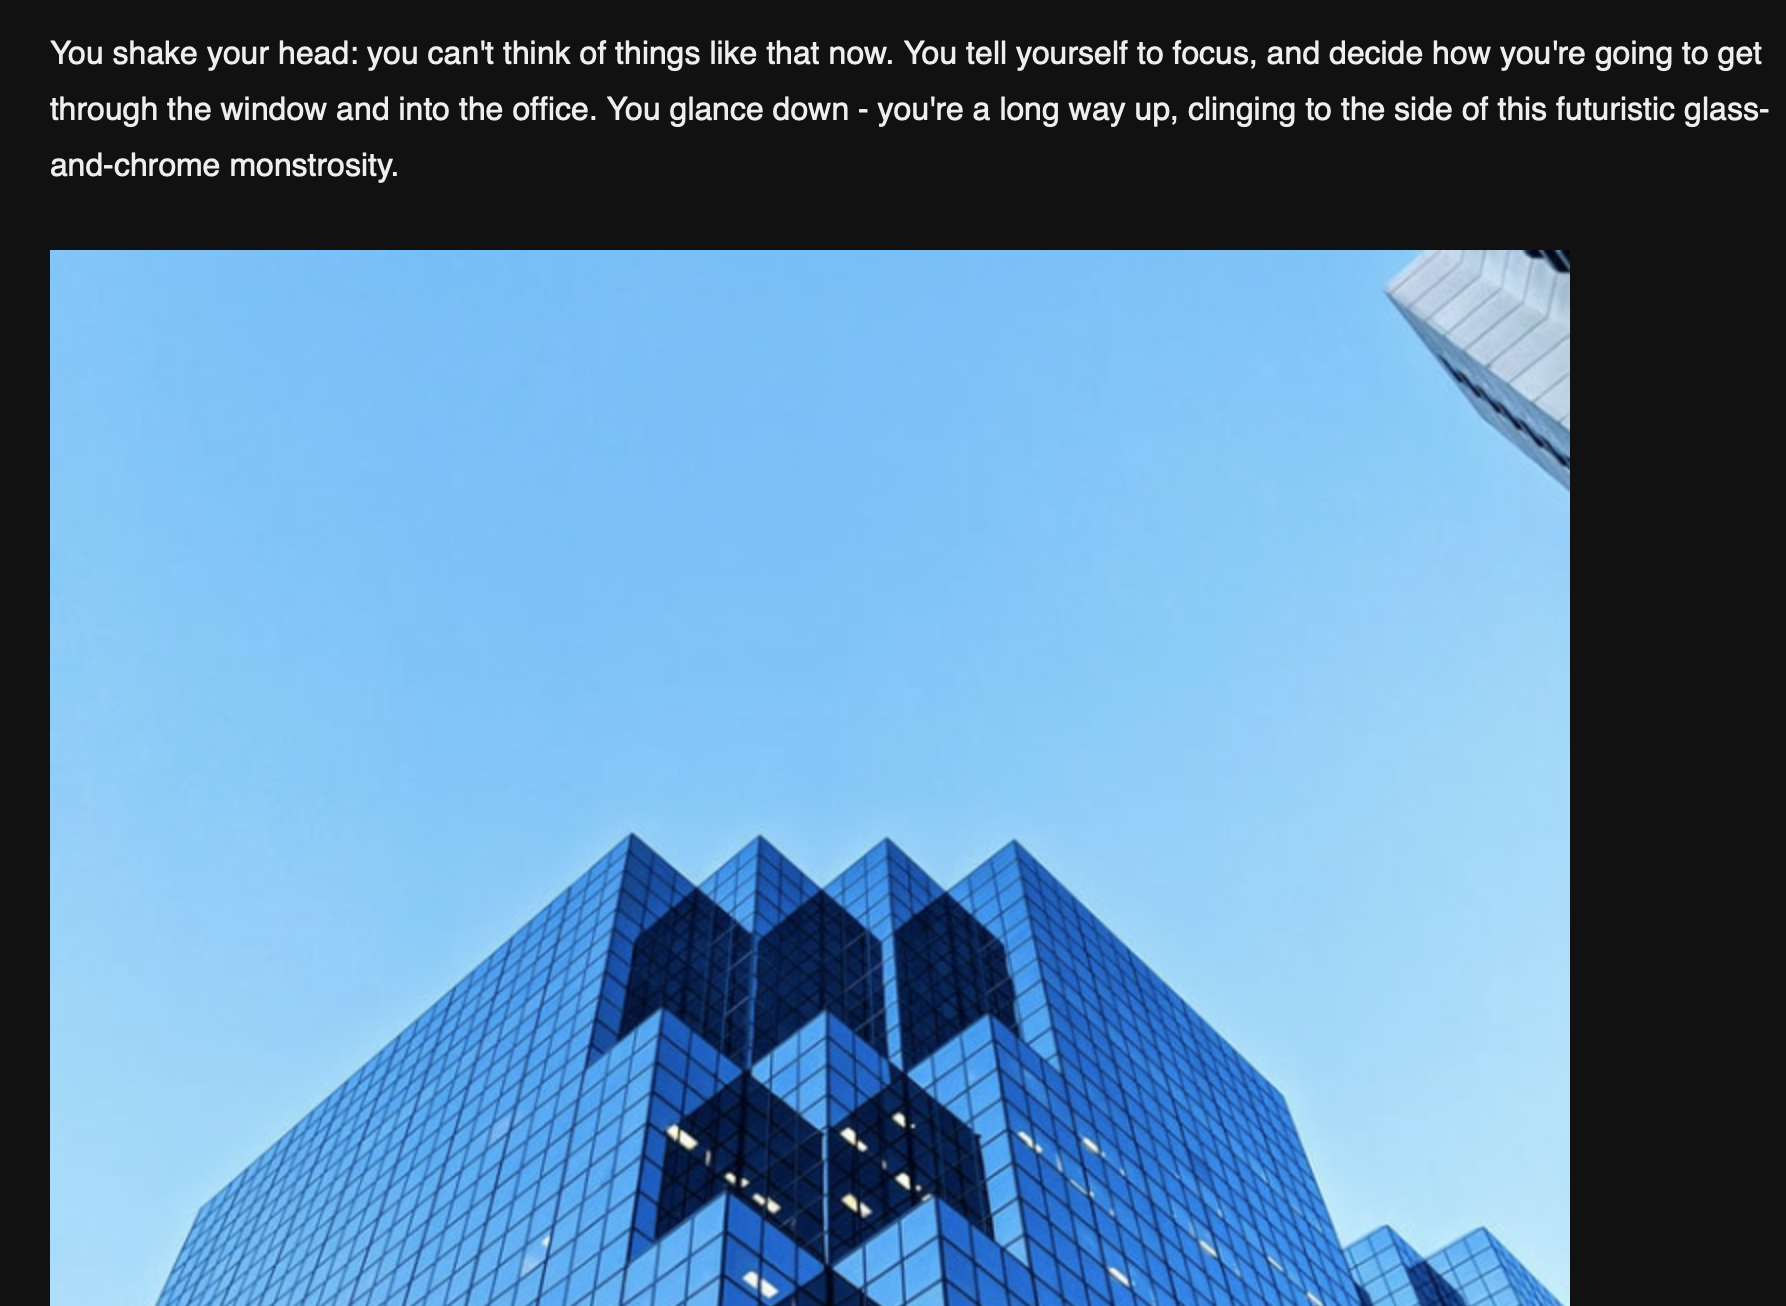
Play through your story to see the images
-
Navigate to the folder "HTML Twine Files" where you've just saved your HTML file. Double-click to open a playable version in your browser.
-
You should now see your images in your playable file.
2. Image formats
Images must be in either jpg or png format.
You can use one of the following sizes:
4:5 (1080 x 1350 px)
1:1 (1080 x 1080 px)
1,91:1 (1080 x 566 px)