Choices, Part 2
1. Use different text in links and passage titles
In the previous section, you have learned how to add choices using links. You also got to know that when you write text in a link, the text automatically becomes the title of the new passage. But what if you want to name your links and passages something different? For example, you may want to call your passages numerically to keep track of your scenes, but your reader should, of course, not see that.
This is how it works:
-
Put text in double square brackets. This is what your reader will read:
[[Go left]]
-
Add a pipe. The pipe tells Twine to treat the text before and after the pipe differently:
[[Go left|]]
-
Add a text directly after the pipe. This is what you want the passage to be titled:
[[Go left|Scene 2]]
On English PC and Mac keyboards it is located on the same key as the backslash key and you have to press Shift to write it.
On German PC keyboards, it is located together with < and > and you have to press Alt Gr to write it.
On German Mac keyboards, you have to press options + 7, to write it.
2. Watch how it's done
3. Start writing yourself
- Open a passage.
- Write text that leads up to a decision.
- At the bottom, write as many links as you want the reader to make decisions.
- Use the pipe | and different names for the passages as the link text.
You can copy the following instruction and paste it into your passage to write the link with a different passage name. Simply replace the text in the brackets with a text of your own. Keep the pipe between link text and passage text.
[[This is what the reader sees|This is the passage title only you can see]]
4. Be aware of this
5. Try it out with the sample story
To better understand this topic, you can look at the sample story from the Introduction section. Download and import it here if you have not done so yet.
-
Open the story.
-
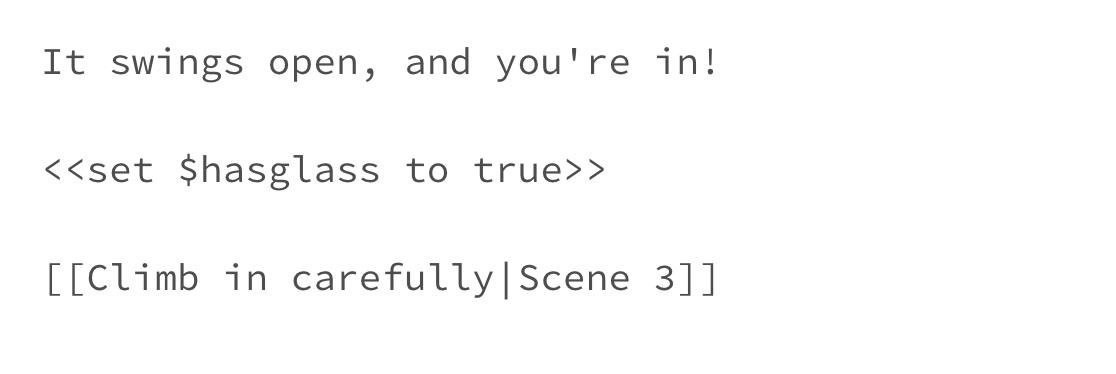
Look at the link in the passage “Cut through the mirrored glass”. You can see that the link at the bottom of the passage has a pipe | between two different pieces of text. The first one becomes the name the reader sees and clicks on while playing, and the second the title of the new passage.
-
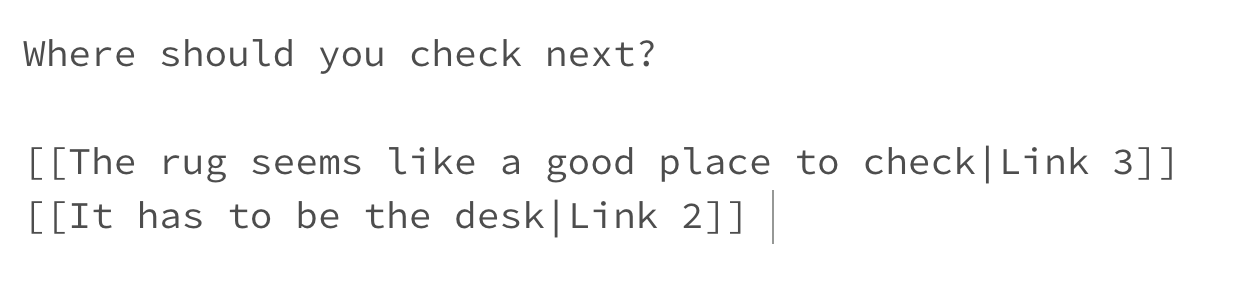
Look at the links in the three passages called “Link 1", "Link 2" and "Link 3”. Here we played with linking to already existing passages. Eventually, the reader will discover that what they’re looking for is actually behind the painting (sorry for the spoiler!), and they’ll move forward into the passage called ‘Links With Variables’ in Twine
-
Play through the passages by clicking “Play” and a playable version opens in your browser.
6. Takeaways
Congratulations! You can now write your first interactive story.
In the next sections, you will learn about variables that can help you add more flavor to your story. We recommend starting these lessons when you feel comfortable using links and Twine.