Create a new story
1. How to create a new story
-
Open Twine
-
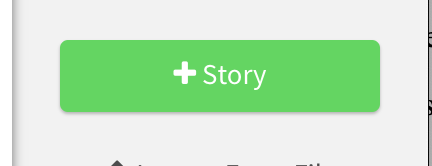
On the right-hand side of the programme, locate the "+Story" button and click it.
-
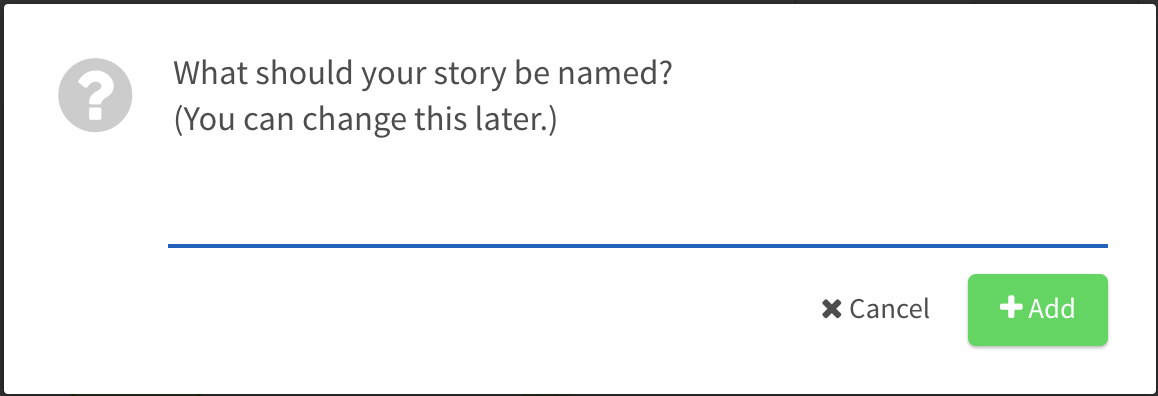
Name your new Twine story and click "Add"!
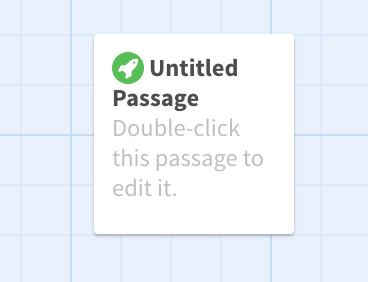
When you create a new Twine Story, your first Passage is also automatically created!
Double-click on it to open it up for editing.
2. This is how a story looks like
There are three really important words in Twine:
- Story. A story is what you call a new story file in Twine
- Passages. Passages are what make up your story within story files.
- Links. Links are how you move between your Passages in your story file.
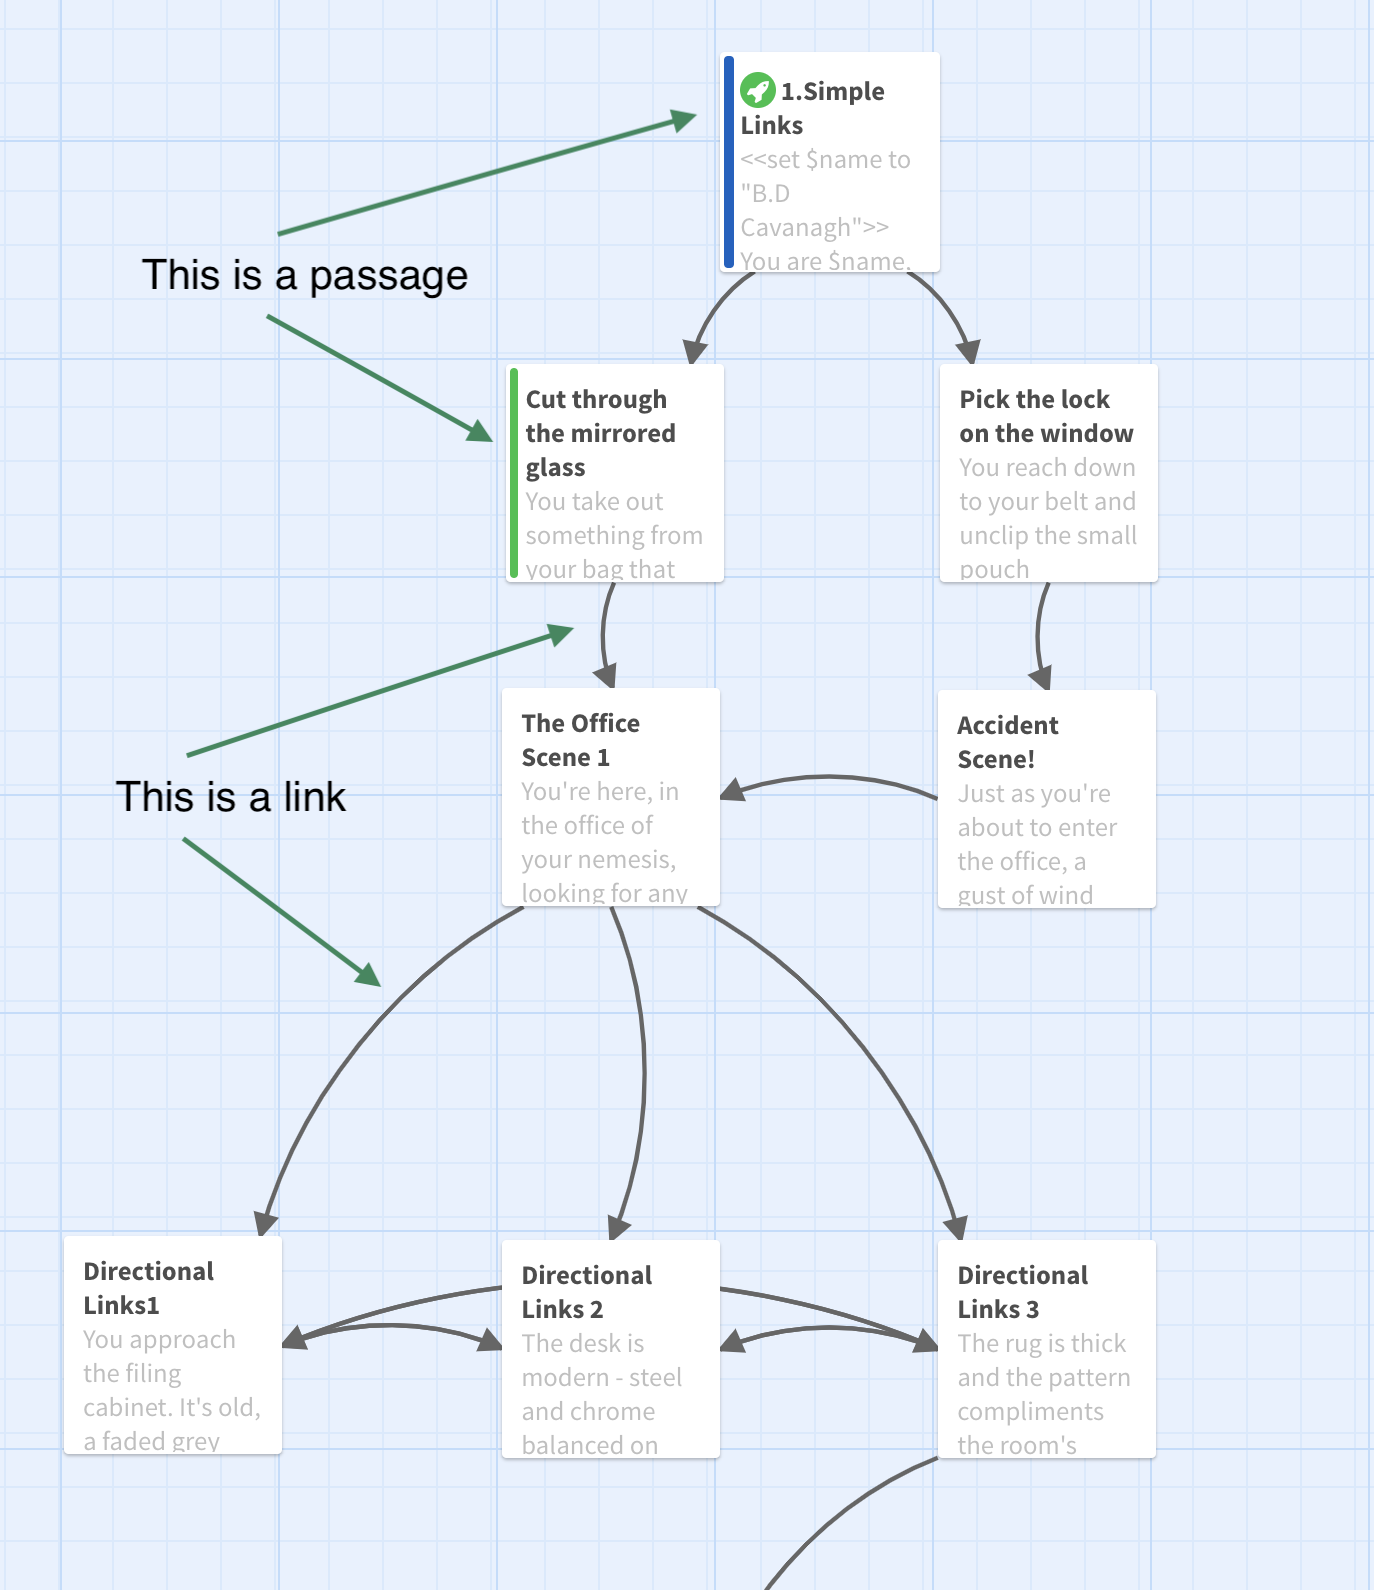
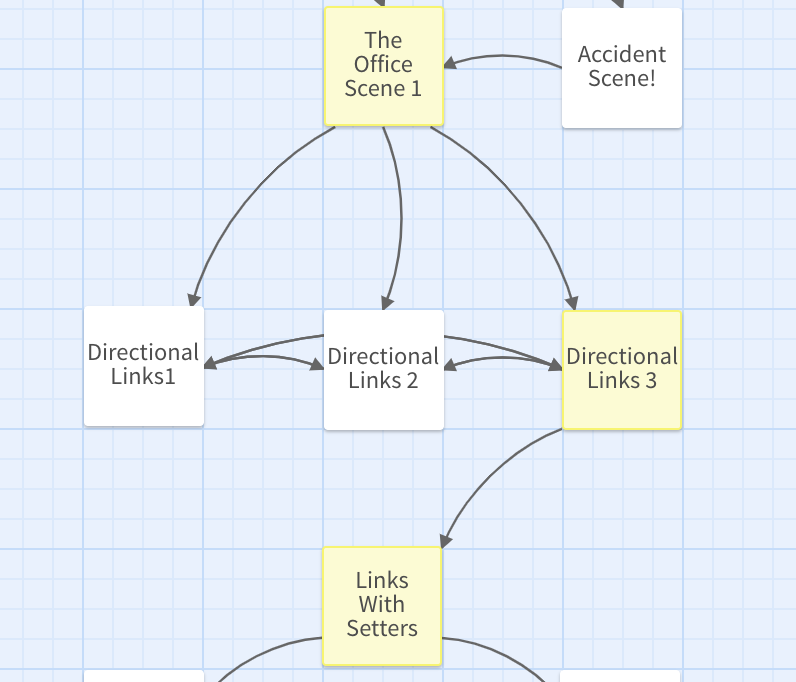
This is a snapshot of an existing Twine story:
3. Navigating your story file
Now that you've created a Story, what's inside it?
Let's look at the bar at the bottom from left to right.

3.1. The home button

This is what it says - it takes you back to your Twine Home screen.
3.2. Your story name and menu
Next is the name of your story with an upward-pointing menu button.
Click on this to reveal settings and options for your Story file.
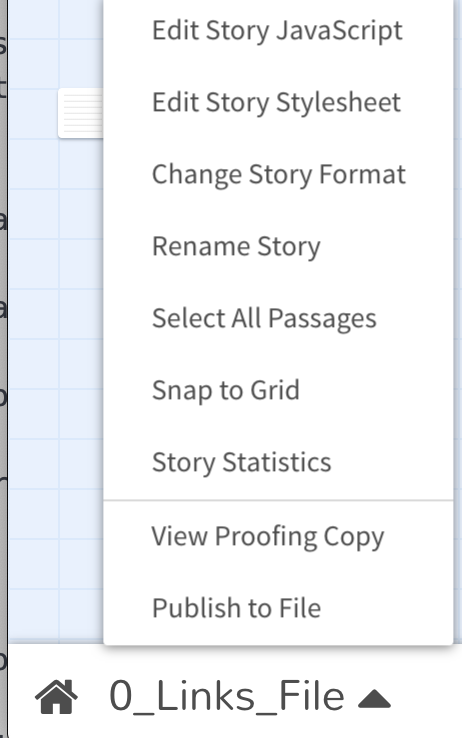
Don't worry about some of these!
The only ones you might need are "Select All Passages", "Snap to Grid", "Rename", "Statistics", "Change Story Format" and "Publish to File".
- Select All Passages: Selects all your passages.
- Snap to Grid: is On/Off. If it's On, new passages you create will be aligned with the grid, and when you move one, it will snap into place.
- Rename: Please rename your story here and do not rename the HTML file itself. Renaming the file itself won't show the new name within Twine.
- Statistics: Word counts etc.
- Change Story Format: Here, you can check if your story is in SugarCube 2.
- Publish to File: Saves your Story in its HTML ("playable") format.
3.3. Quick find
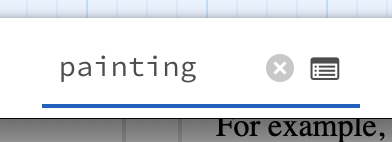
The Quick find box can help you locate a Passage by searching for a word or title.
For example, searching for the word "Painting" in the example file:
Three of the passages light up:
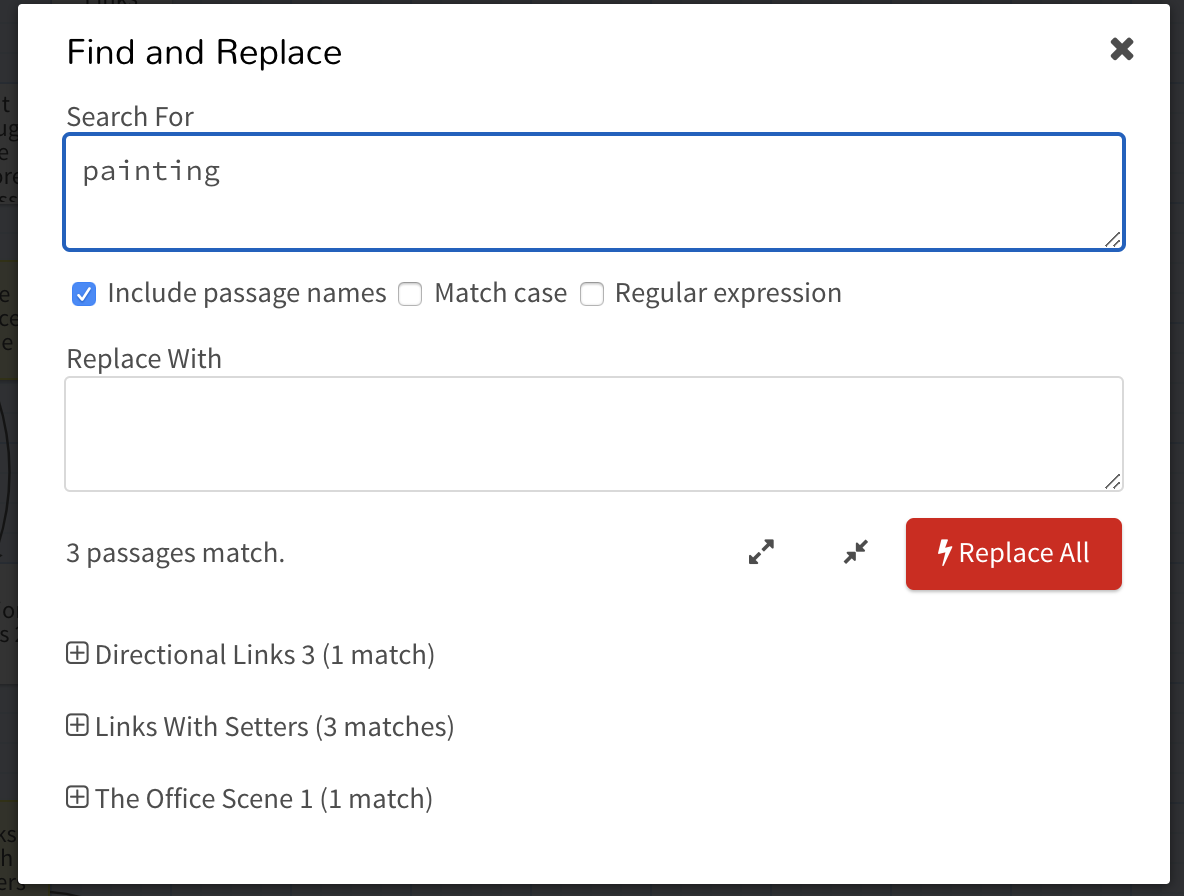
3.4. Find and Replace
The box image next to the search box opens a "Find and Replace" function window:
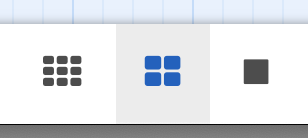
3.5. Sizing your story
The three icons to the right of Quick Find represent how you view your Passages in your Story file: zoomed all the way out, half-way, or all the way in.
3.6. Test and Play
The "Test" and "Play" buttons are extremely useful to see how your story is shaping up as you write.
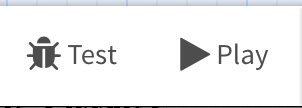
Test will play your story in a "debug" mode. Running your story in test means not only do you see what the reader sees in terms of content, but you'll see all the mechanics of your variables and links.
Play will "play" your story in "normal" mode, as a reader would see it.
Next, we will show you how to create choices.